How To Carburetor Cleaner Clean a Small Engine-Best Cleaner
Smaller engines play vital roles in powering our lawnmowers, motorcycles, cutting saws, concrete mixers, generators, and many other small machines. Like their large engine counterparts, they too are susceptible to the dangers of dirt and engine clogs. Nevertheless, to say, it is really important to clean a small engine of your tool periodically to enhance the longevity of your home tools.
The carburetor cleaner yet again comes in to help with their cleanliness. In the discussions below, we are going to examine just how cleanliness may be implemented. Stay on to get to know the finer details and receive the necessary inspiration.
Tools and Materials Required
- Phillips screwdriver
- Flat screwdriver
- Needle nose pliers
- Wire brush
- Wrenches or socket set
- Carb and choke cleaner
- Carburetor and parts cleaner
- Gasket set or carb rebuild kit (recommended)
How To Use Carburetor Cleaners To Clean A Small Engine
Remove the Carburetor from the Engine
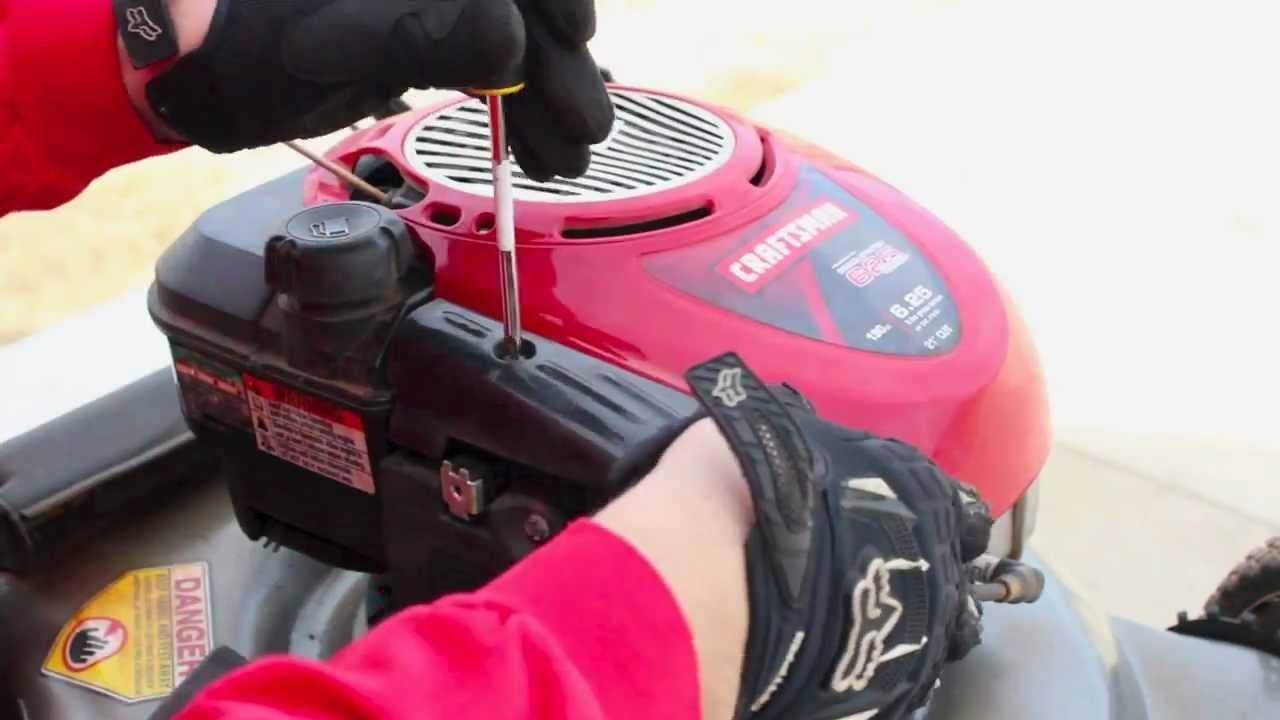
Kick off the exercise by removing the carburetor from the engine. Before this, turn off the fuel valve that exists on the fuel tank. Follow this by loosening the screws which hold the clamps together at the front and the back of the carburetor. Lastly, carefully yet steadily get the carb out of the engine. Take great care that you do injure not yourself.
Get rid of the float bowl
You now have to get rid of the float. This is the bottom part of your carburetor. To do so, unscrew the four screws which bind it to the carburetor. These screws do strip easily. You hence have to exercise some great care and caution as you remove them. Pull the float bowl steadily thereafter. You might require a pair of needle-nose pliers to accomplish this.
Dismantle the jets

Jets refer to those screws which contain some holes in their centers. It is through these holes that the fuels flow in order to mix with the air. The exact procedure to use varies from one carburetor to another. Use a screwdriver and some set of pliers to unscrew the jets from the carb. It is necessary that you pay attention to your manufacturer’s specifications as you go about this business.
Remove the outer portions of the carburetor
Conclude the dismantling process by removing the outer portions of the carburetor. This process requires the use of a flathead screwdriver. As you remove these screws, be slow and cautious to avoid the unlikely possibility of damaging the remaining parts.
Recommended Article : Best Outboard Motor Hydrofoil Brands & Review
Clean the Parts
You have now got to the core of the matter. Soak the constituent parts in a gallon of carburetor cleaner solvent for 1 hour or so. At the end of this duration, scrub those parts using a wire brush after which you are to spray them using the choke cleaner.

Do the same to the holes from which the choke, float needles, idle screws, and jets came from. Hold the jets through the light to ascertain whether the parts are indeed spick and spun. You may consider blowing some compressed air through the holes to clear any residual debris.
Conclude this step by placing the carburetor out in the open to dry completely. If there is insufficient sunlight outside, the compressed air will definitely come in handy.
Reassemble the parts
Having concluded cleaning the parts, the time has now come to reassemble them. This is a very delicate process indeed. That is because there is the risk of mismatching the various parts and components. Then, different makes and models of carbs feature varying parts and installation procedures.
You will have to rely extensively on the manufacturer’s manual to go about this issue. As a general rule, you have to start with the O-rings, then the gaskets, through to the jets, outer parts, and finally the float bowls. This is the best time to replace any parts that are completely worn out.
Return the Carburetor
You should now return the carburetor to the throttle cable. Place the throttle cable at the top of the carb and attach the spring. Then, place the needle in the slide and fasten it by compressing the spring and the hook on the end of the cable.
Next, slide and thereafter wiggle the carburetor back to the rubber boots. Finish off by tightening the screws on the clamps in order that they might hold the carburetor firmly in place. After you are through, fix the fuel and the overflow line back to the carburetor.

Safety Measure
While undertaking the cleanliness of the parts of the small engine using the carburetor cleaner, you have to adhere to some safety tips and precautions. Below are the top safety considerations you have to adhere to:
- Put on the relevant and necessary safety gears. These include the aprons, overalls, hand gloves, gas masks, goggles, and gumboots.
- Be sure to undertake the cleanliness in an area that is well-lit and appropriately ventilated.
- Cordon off the work area and clearly indicate it as ‘Works in Progress’ to deter any would-be intruder and to guarantee the safety of the others around you.
- If possible, make use of the ventilation fan to keep the air in the garage well ventilated and cleansed of any impurities.
- Never use matches or lighters. The carburetor cleaners are highly flammable and potentially dangerous to light up.
Conclusion
Whilst this is a chore you can easily do in the comfort of your own home, being sensitive, it is a task that is best done under the supervision of a trained and expert mechanic. You might have to watch many videos and tutorials to familiarize yourself with the inner workings before embarking on the process too.
We have labored enough to give you the head start you need to do your cleaning. Having done our part, we now leave it to you to take over from that. We always love to hear about the progress of the readers of our posts. Do deliver your experience and verdict to us after you are through.