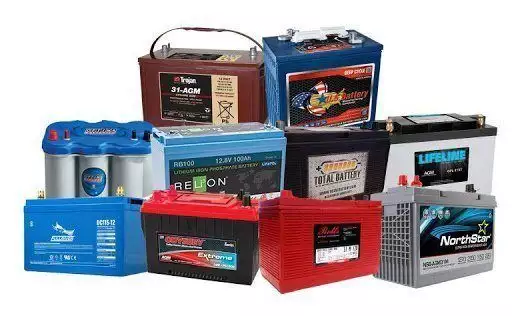
How To Charge A Deep Cycle Marine Battery |9 Easy Steps
Needless to say, the electrical charge that is stored in the deep-cycle marine battery does get depleted with time. This is because the charge is utilized to operate the motor which subsequently propels the marine vehicle. It is against this backdrop that the battery has to be recharged every now and then, especially moments before use. Today our topic is how to charge a deep cycle marine battery. In the proceeding conversations, we are going to walk you through the step-by-step procedures necessary to recharge the battery after the charge is depleted.
Tools and Materials Required

- Spanner
- Screwdriver
- Charger
- Socket
- Protective gears like aprons, face masks, overalls, and gloves.
- Watch
How To Charge A Deep Cycle Marine Battery
#1 Start With the Right Charger
The first and by far the most significant step is to find the right charger. This procedure is to spare you from the dangers that ordinarily come along with faulty chargers. These include the risks of electrocution, fires, and irreversible damage to the battery and the charger in use. The best charger has to be one that is recommended by the manufacturer.
#2 Read the Manufacturer’s Manual
Both the charger and the battery are accompanied by a manufacturer’s manual. The manual contains the instructions necessary for the smooth operations of the said devices. Since those instructions vary from manufacturer to manufacturer, it is necessary to familiarize yourself with each instruction to avoid unnecessary issues. This can only happen if you read the instructions before commencing the task of recharging the battery.
#3 Disconnect the Battery from the Boat’s Electrical System
Now proceed to disconnect the battery from the electrical system of the boat. This is necessary because there is often a surge in the levels of electrical energy during the charging process. With such a connection intact, it might normally be possible to burn the electrical components or pose some irreversible damages to the circuit of the boat.
#4 Ventilate the Area

It is necessary to provide adequate ventilation to the area wherein you intend to recharge the battery. The process of recharging a battery entails the emission of certain harmful gases. If and when these gases find their way in your respiratory tract, they might lead to poisoning and perhaps permanent damage to your organs. Open all windows and doors. You should also switch on the fan if possible.
#5 Clean and inspect the battery terminals
Clean and inspect the terminals of the battery. You have to rid the said parts of the battery of any dirt to boost the speed and efficacy of the charging process. Be sure to put on appropriate protective attire such as a gas mask, apron and a pair of gloves while doing this. The corrosion may often contain toxic sulfides which have the attendant side effects of irritating both the eyes and the skin.
#6 Connect the red clamp of the battery charger to the positive terminal of the battery
Put on some rubber gloves and then proceed to connect red clamp of the battery charger to the positive terminal of the battery. You will identify this positive terminal by the “+” mark. Most new chargers also have the ability to detect polarity. They will hence alert you if you have the poles reversed
#7 Connect the black clamp to the negative terminal
After this, connect the black clamp to the negative terminal now. This terminal bears the “-” symbol or marking. The aim of this connection is to complete the circuit and to allow for a seamless transfer or electric currents between the two terminals. Check that the connection is tight and complete for best results. Remember also to keep the protective gears on.
#8 Plug in the Charger

Plug in the charger in the wall socket or receptacle. Most sockets of these kinds are often rated 110V to 120V alternating current. Finish off by switching the socket on to allow for the transfer of current from the plug to the charger. Now let the battery to charge unhindered. Do not interfere with battery during the charging process to prevent any shocks and other issues. Most chargers will automatically notify you at the conclusion of the charging process. This happens by means of an indicator light that forms part of the charger.
#9 Switch off and unplug the Charger
Finally, switch off and unplug the charger. Thereafter, disconnect the battery from the charger. Now replace the connections you had severed between the battery and the rest of the marine vessel. Do so meticulously to avoid any incompatibilities that may arise in the process. You do not want to predispose yourself to any dangers and subject your vessel to any damages. You are now good to go.
Conclusion
As you may see from the foregoing explanations, the procedure of recharging a deep-cycle marine battery is both risky and meticulous. It is not a thing you would want to attempt if you lack the skill and the tools-of-trade necessary. This is why it makes sense for you to delegate the responsibility to a competent technician for the avoidance of doubt. Best of luck in your next recharge undertaking!

![Best deep cycle Marine Battery For Boat [Deep Cycle] in 2022](https://landroverbar.com/wp-content/uploads/2019/01/Best-Deep-Cycle-Marine-Battery-Reviews-768x421.jpg)