How to install boat seat pedestal base|Done in 10 Easy Steps
Recently bought & just thinking how to install boat seat pedestal base?It is on the base of the boat seat pedestal that the seat is anchored. The seat pedestal swivels, turns around, and fidgets to place the seat at a state, position, and direction that is desirable at that time. To guarantee smoother operations and comfortable seating all the time, this base has to be set up well.
In our discussions that follow, we are going to look into the steps involved in the entire process. We shall first and foremost list down all the tools and the materials you may need to actualize the setup. After that, we shall enumerate the steps to follow to achieve the desired end results.
Tools and materials required
You will have to first and foremost garner the following pieces of equipment and materials before setting out:
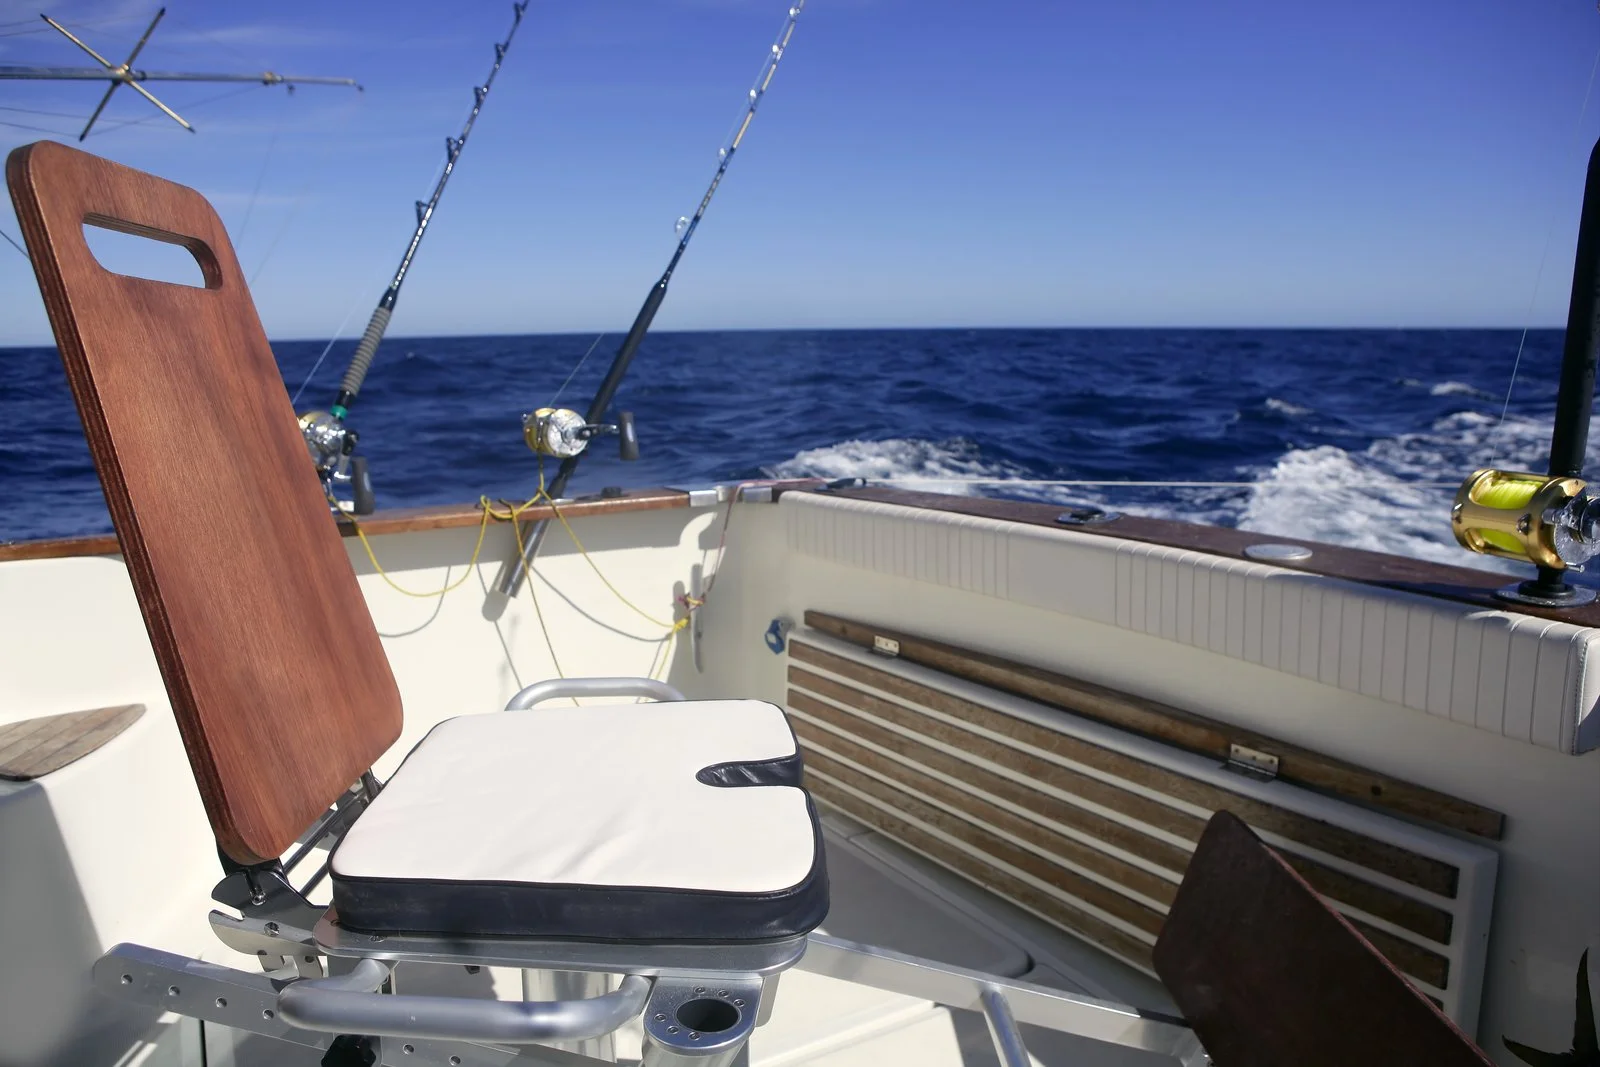
- Pedestal system/seat base/footrest
- Deluxe helm chair
- Measuring tape
- Marker
- Power drill and bit set
- 6 1/4-20 stainless-steel Nyloc nuts, oval-head bolts, and fender washers
- 3/8-inch 12-inch-square aluminum plate
- 3M Marine-grade silicone sealant
- Phillips screwdriver
- Socket or box wrench set
How To Install Boat Seat Pedestal Base
Now follow the steps stipulated below to accrue the necessary end results:
#1 Prepare the workplace
Start by preparing the workplace appropriately. You want to safeguard other people who stay at that place from the dangers of accidents that generally arise when working out.
Do this by cordoning off the area and clearly marking the space as “Work in Progress” to deter passersby and children from encroaching. Be sure also that the workplace is properly ventilated and well-lit for maximum visibility.
#2 Put on the necessary protective gears
Your own safety is also paramount. You have to put on the necessary protective gears like the aprons, overalls, pairs of gloves, aprons, goggles, face masks, and gumboots. These shields you from the flying debris, dust, and other particles of dirt that do arise when working out.
#3 Determine the correct boat seat pedestal
These boat seat pedestals come in diverse shapes and forms. These include fiber, steel, and high-density polyethylene, to name but a few! You have to choose the one that is most relevant to your unique circumstance of need. We strongly recommend stainless steel for salty waters.
#4 Inspect the boat
Next, inspect the boat to locate the fuel tanks and the wiring harness. These are two potentially dangerous. You want to mount the seat pedestal at a place that is far from these two parts for your own safety. If unsure, bring in an expert to help you out.
#5 Mark out the place
Having identified the most suitable place to mount the pedestal, you now have to mark out that place. You will have to measure your pedestal beforehand. Then, use the marker to draw the circles which you will subsequently bore to provide you with places to mount your pedestal later on.
#6 Bore the holes
Use the power drill now to bore the holes in the positions which you have already marked. After you have drilled them, fill them with the marine epoxy resin. This is to prevent the intrusion of moisture into the construction of the boat deck. Let the resin cure for no less than 3 days before proceeding.
#7 Insert the pedestals
At the end of the 3-day pause, go ahead now and insert the pedestal into the holes you have drilled. Be sure that they all fit firmly in place. After that, secure the pedestals under the deck by use of the blind fasteners. Shake and test the system to ascertain whether indeed it is firm or not.
#8 Reinforce the pedestals
Fixing the pedestals in the holes which you drilled in and of itself is not enough. You have to reinforce this fixing by spreading the marine adhesive sealant to the resin-filled holes. Be sure to spread it right to the bottom. Allow the sealant 24 hours to set in completely.
#9 Screw in the bolts
Finish this off by inserting the screws and tightening the same using the screwdrivers. Shake the seat gently from side to side to find out whether it is stable or not. Only call it a day if you are pretty sure that the seat is now fully stable.
#10 Paint and spruce the boat (optional)
This is an option but is highly recommended nevertheless. You may also take advantage of this time to paint and spruce up the boat. This entails you inspecting the boat for any leaks, damages, holes, or any other malfunctions. Use the necessary interventions to remedy these issues before commissioning the boat for use.
TIPS
As you handle this work, there are some tips you have to adhere to. These are:
- Choose a seat pedestal that is compatible with the boat of choice
- Make use of the tools that are more likely to yield forth better outcomes
- Put on the necessary safety gears to safeguard yourself from any harms
- Follow the steps we have outlined above faithfully to prevent coming up with substandard work
- Do not forget to take care of the safety of those around you
Conclusion
Given the treacherous nature of the waters, you can never afford to make some loose connections as this may jeopardize the lives of those who use the boats eventually. You want to see to it that every joint or fixture is firm, stable, and able to endure the test of time.
Just if you are not sure, you may have to bring in an expert to assist you. As with any other undertaking, this one also requires some regular practice to master. We ask you hence to consider carrying out mock fixtures until such a time that you have mastered the entire process perfectly.

![Best Pontoon Boat Grill For The Money 2023 [Expert Guide]](https://landroverbar.com/wp-content/uploads/2019/11/best-boat-grill-e1575015904991.jpg)
