
How To Replace A Marine Deep Cycle Battery
Everything that is made by human hands had a finite lifespan. The deep-cycle marine battery is by no means exceptional. Indeed, after some time, these marine batteries will get so depleted that no further recharge may restore them to their proper working condition with power. If and when this happens, you inevitably have to alter the battery altogether. You definitely have to know how best to go about the issue. This is our goal in the proceeding conversations on how to replace a marine deep cycle battery. Stick with us.

Tools Required for Change of Marine Battery
- Screwdriver
- Wire brush
- Pliers
- Torque wrench
- Clean cloth
Reference Read : Deep Cycle Marine Battery Definition
Process: How To Replace A Marine Deep Cycle Battery
Open the Battery Compartment
First of all, Start off by opening the battery compartment. Thereafter, check the conditions of both terminals for any lead acid leaks. In case any leaks exist, clean them appropriately. Use a wire brush to gently and carefully get rid of any other dirt that may exist on the terminal. Be advised to use only anti-corrosion grease on your cable terminals.
Disengage the Negative Cable Terminal
Now go ahead to disengage the negative (black) terminal first and foremost. You will have to make use of the socket wrench or a set of pliers to do the job. This is especially true for those stubborn wingnuts. Take great care that you strip not the nut in case it happens to be over-tightened.
Disengage the Positive Terminal
After this, go ahead to disengage the positive or red cable terminal from the power starting battery. Please ensure that the positive and the negative cable terminals do not get in contact with one another.
Do not even attempt to touch those terminals with your bare hands if you do happen to have a metal or screwdriver in between them. You do not want to sustain an electric shock, do you?
Recommended Article: Best Carb Cleaner
Remove the Old Battery and Place it aside

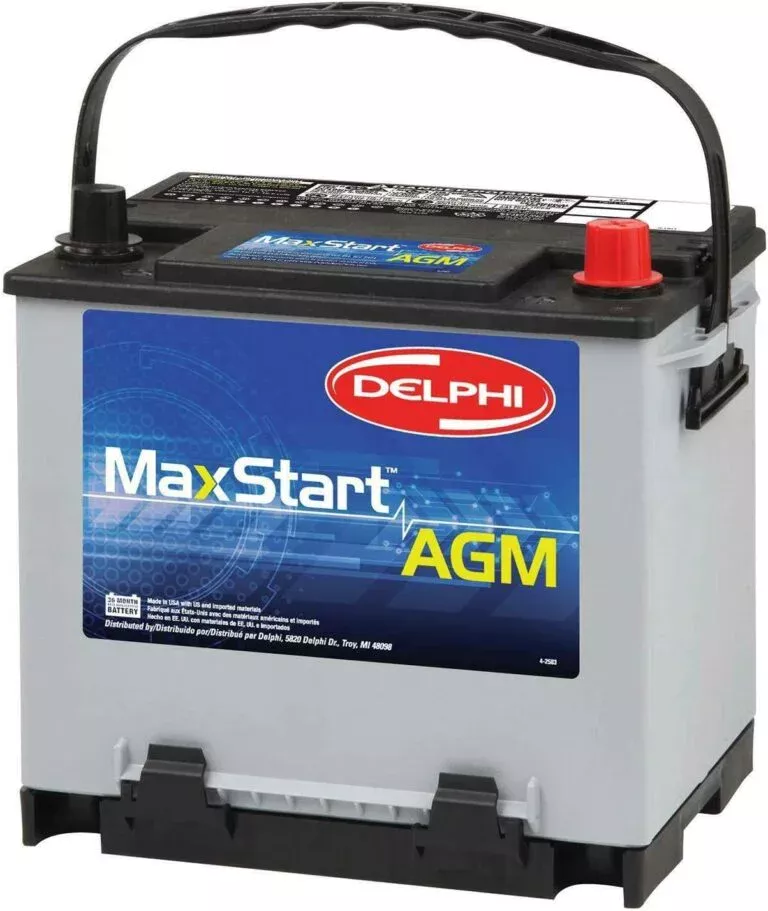
Remove the existing AGM battery and place it aside slowly and carefully. Take into consideration the stability of the boat to avoid the possibility of the boat capsizing or tripping off.
After you are through with this, clean the terminals as there is no better time to do this. Yet again, use a wire brush to remove any oxidation or corrosion gently. Apply the protective and the conductive grease to do the job as well.
Place the new battery in the battery compartment
Then leave the compartment intact for some time to allow for it to dry. After it is thoroughly dry, go ahead and place the new battery in the said compartment. Ensure that it is properly seated and appropriately fixed in place. Any loose connections might normally endanger your life and that of the boat in times of use.
Attach the Positive Cable Terminal
Going Forward, attach the positive or red cable terminal to the top positive terminal post of the battery. Go ahead to re-thread the nut making sure that you do not over-tighten or strip those threads. Take great care not to touch the terminal with your bare hands as this might predispose you to the risk of electrical shock.
Replace the Negative Cable Terminal
After this, proceed to alter the negative or black cable terminal to the negative terminal post of your battery. Take great caution as you do this as well.
You yet again want to be certain not to put yourself in danger of electric shocks. Finish off this step by re-threading the nut, just as you did in the case of the positive terminal.
Replace the cover and straps
Lastly, replace the cover and the straps. After this, secure the battery and the compartment in such a way as to make it seaworthy. This is because boats generally tend to move in jerky motions as they go about the water.
Clean up the compartment, turn the key, and then take the boat for a test run. You are now good to go! Read the maintenance manual, and power charging instructions, find charge & discharge level thresholds, and voltage output & conduct periodical maintenance for the long life of starting batteries.

Common Questions
# Can you recharge a dead marine battery?
-No, it could be dangerous & explode the battery charger may also burn.
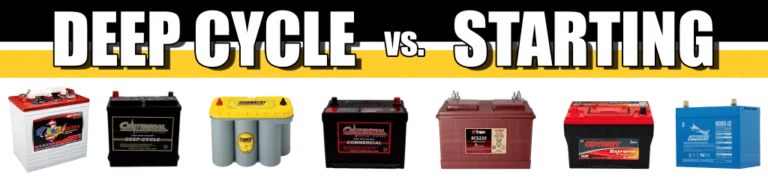
# Can you use a deep cycle type battery for starting a boat?
-Yes, but there are other types of systems available selectively to use for this purpose.
# How do you change a marine battery?
-Follow this article from beginning.
# How long should a marine battery last?
-It depends on the frequency of use & maintenance. Typically it may last 2-5 years, some manufacturers also provide lifetime warranty & free exchange.
# When should I change my marine battery?
-You need to check whether the output voltage is ok or not. if the charge burns out very quickly, you need to diagnose & replace it.
Conclusion
Never dispose of batteries in the trash. Instead, take your used batteries to the nearest service station for disposal. These batteries are potentially harmful. The last you may want is a situation in which the lives of those you cherish are endangered or cut short considerably.
End of the discussion, hope has no confusion left on How To Replace A Marine Deep Cycle Battery. If you like our article, don’t forget to share it with your friends.

![Best deep cycle Marine Battery For Boat [Deep Cycle] in 2022](https://landroverbar.com/wp-content/uploads/2019/01/xBest-Deep-Cycle-Marine-Battery-Reviews-768x421.jpg.pagespeed.ic.hrpXlI5Sdz.jpg)