How to Fix an Ignition Coil
To fix an ignition coil, disconnect the battery, locate the coil, unplug the wiring, remove and replace it. Ignition coil issues can cause engine misfires and poor performance.
It’s essential to address them promptly to ensure smooth vehicle operation. Ignition coil problems can lead to stalling, rough idling, and reduced fuel efficiency. By following proper maintenance and addressing issues promptly, you can avoid more significant problems down the line.
Regularly inspecting and replacing faulty ignition coils can prolong your vehicle’s lifespan and ensure optimal engine performance. Now, let’s delve deeper into how you can effectively fix an ignition coil issue and keep your vehicle running smoothly.
Credit: m.youtube.com
Step 1: Diagnosing The Problem
When troubleshooting issues with your car’s ignition coil, the first step is to properly diagnose the problem. Ignition coil problems can lead to engine misfires, rough idling, and decreased fuel efficiency. By diagnosing the issue accurately, you can save time and money by addressing the problem at the source.
Checking For Ignition Coil Failure
To determine if the ignition coil is the culprit behind your car troubles, start by conducting a visual inspection. Look for signs of physical damage or corrosion on the coil. Cracks, burns, or oil residue are common indicators of a faulty ignition coil.
- Inspect the ignition coil for physical damage or signs of corrosion.
- Look for cracks, burns, or oil residue which may indicate a faulty ignition coil.
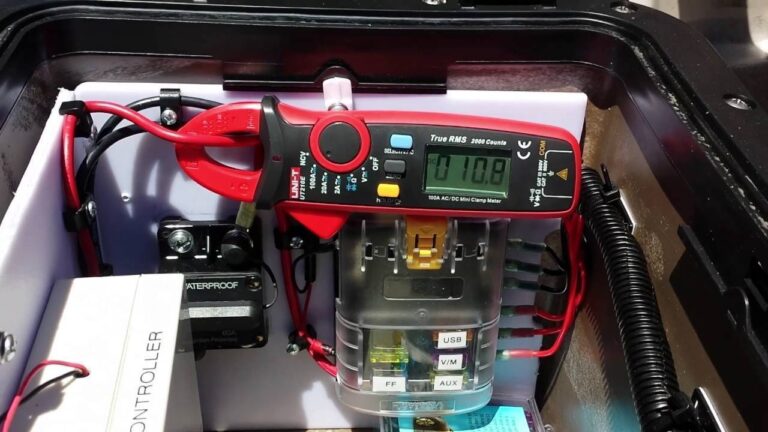
Using An Ignition Coil Tester
Utilizing an ignition coil tester is an effective way to assess the functionality of your ignition coil. This tool measures the coil’s ability to produce a spark under load, providing a clear indication of its health. By testing each coil, you can identify which, if any, are failing.
- Connect the ignition coil tester to each coil to measure its spark-producing capability.
- Identify any weak or malfunctioning ignition coils through the tester’s results.

Credit: www.wikihow.com
Step 2: Gathering The Necessary Tools
Inspecting The Ignition Coil
Ensuring Safety Precautions
Preparing The Required Tools
Inspecting the ignition coil: Before proceeding, inspect the ignition coil for any visible damage.
Ensuring safety precautions: Prioritize safety by wearing protective gear like gloves and goggles.
Preparing the required tools: To fix the ignition coil, gather the following tools:
| Tools | Quantity |
|---|---|
| Multimeter | 1 |
| Socket and wrench set | 1 |
| Screwdriver set | 1 |
| New ignition coil | 1 |
Ensure all tools are organized and within reach before beginning the ignition coil repair.
- Use gloves and goggles for safety
- Inspect the ignition coil for visible damage
- Gather the multimeter
- Collect the socket and wrench set
- Prepare the screwdriver set
- Have the new ignition coil handy
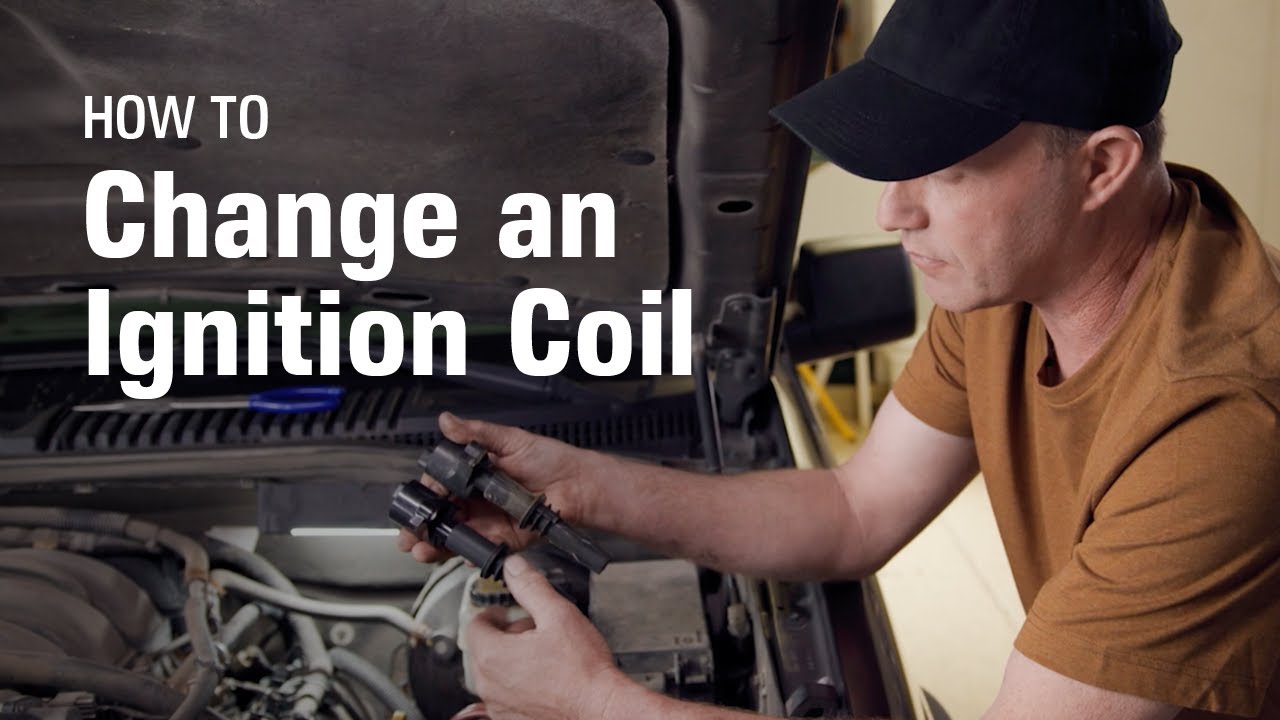
Step 3: Removing The Ignition Coil
When it’s time to remove the ignition coil, it’s essential to follow the correct steps to avoid damage.
Locating The Ignition Coil:
- Open the hood of your vehicle.
- Identify the ignition coil.
- Refer to your vehicle manual if needed.
Disconnecting Electrical Connectors:
- Locate the electrical connectors.
- Carefully disconnect them.
- Ensure no wires are damaged.
Removing Mounting Bolts:
Using the appropriate tool, remove the mounting bolts securing the ignition coil in place.
Gently pull out the ignition coil once the bolts are removed.

Credit: shop.advanceautoparts.com
Step 4: Installing The New Ignition Coil
Checking Compatibility Of The New Coil
Before proceeding with the installation, it’s crucial to ensure that the new ignition coil is compatible with your vehicle’s make and model. Check the manufacturer’s specifications and cross-reference the part number to guarantee a proper fit.
Securing The Coil With Mounting Bolts
Once the compatibility is confirmed, position the new ignition coil in place and secure it using the mounting bolts. Make sure to tighten the bolts firmly, but avoid over-tightening to prevent damage to the coil or the mounting surface.
Reconnecting Electrical Connectors
Next, reconnect the electrical connectors to the new ignition coil. Carefully attach each connector, ensuring a snug and secure fit. Take extra caution not to force the connectors, as this can lead to poor electrical contact and potential malfunction.
Step 5: Testing The Ignition Coil
In Step 5 of fixing an ignition coil, it is essential to thoroughly test the coil to ensure its functionality. This step is vital in diagnosing and resolving any issues with the ignition system.
After installing and properly connecting the ignition coil, the next step is to test its performance. Testing the ignition coil ensures that it is functioning correctly and providing the necessary voltage for efficient engine operation. In this step, we will cover two essential aspects of testing the ignition coil: starting the engine and observing performance, and verifying proper voltage output. Let’s dive in!
Starting The Engine And Observing Performance
To start testing the ignition coil, you need to turn on the engine and carefully observe its performance. The engine should start smoothly and run consistently without any noticeable issues. Listen for any irregular sounds, such as misfires, sputtering, or rough idling. Pay attention to the overall performance, acceleration, and responsiveness of the engine as you rev it up. Any abnormalities might indicate a problem with the ignition coil.
Verifying Proper Voltage Output
Aside from observing the engine’s performance, it is crucial to verify that the ignition coil is producing the correct voltage output. This step requires a multimeter to measure the voltage accurately. Start by connecting the red lead of the multimeter to the positive terminal of the ignition coil and the black lead to a suitable ground, such as the engine block. Then, carefully crank the engine while monitoring the voltage reading on the multimeter.
| Normal Voltage Output | Faulty Voltage Output |
|---|---|
| Around 12 volts | Significantly lower voltage or no voltage reading |
If the multimeter shows a voltage reading around 12 volts, it indicates that the ignition coil is producing the proper voltage output. On the other hand, if you encounter a significantly lower voltage reading or no voltage at all, it signifies a potential issue with the ignition coil. In such cases, it is advisable to consult a professional mechanic or replace the ignition coil to ensure your engine’s optimal performance.
By following these steps to test the ignition coil, you can diagnose any problems and take the necessary actions to fix or replace it, if needed. Remember, a well-functioning ignition coil is crucial for the proper ignition and combustion of fuel within the engine, leading to better overall performance. So, give your ignition coil the attention it deserves!
Frequently Asked Questions For How To Fix An Ignition Coil
Can You Repair A Ignition Coil?
Yes, ignition coils can be repaired depending on the extent of the damage. It’s best to consult a professional mechanic for an expert diagnosis and repair. Regular maintenance can also help prevent issues with ignition coils.
How Much Does It Cost To Fix An Ignition Coil?
The cost to fix an ignition coil typically ranges from $200 to $500, depending on the vehicle make and model.
Can You Still Drive With Bad Ignition Coil?
Yes, you can drive with a bad ignition coil, but it may lead to engine misfires, rough idling, and decreased performance.
How Do I Know Ignition Coil Is Bad?
The most common signs of a bad ignition coil include engine misfires, rough idle, decreased fuel efficiency, and trouble starting the vehicle. If you notice any of these symptoms, it is advisable to have the coil checked by a professional mechanic and replaced if necessary.
How Long Does An Ignition Coil Last?
On average, an ignition coil can last between 100,000 to 150,000 miles or 7 to 10 years before it may need replacement.
What Are The Signs Of A Bad Ignition Coil?
Common signs of a bad ignition coil include engine misfires, rough idling, stalling, decreased fuel efficiency, and difficulty starting the vehicle.
Can I Drive With A Faulty Ignition Coil?
It is not recommended to drive with a faulty ignition coil as it can cause further damage to the engine and may leave you stranded.
Conclusion
In sum, fixing an ignition coil requires thorough diagnostics and careful attention to details. By following the step-by-step process outlined in this guide, you can successfully repair the ignition coil and ensure optimal engine performance. Remember to use high-quality replacement parts and adhere to safety precautions throughout the process.
With the right tools and knowledge, you can confidently tackle this repair and keep your vehicle running smoothly.