How to Change Brake Shoes
To change brake shoes, jack up the vehicle, remove the wheel, uninstall the brake drum, and replace the old shoes with new ones. Changing brake shoes is a crucial maintenance task that ensures optimal brake performance and safety on the road.
Properly functioning brake shoes are essential for effective braking and overall vehicle safety. By following these steps, you can easily replace worn-out brake shoes and maintain the braking system of your vehicle in top condition. Regular inspection and replacement of brake shoes are necessary to prevent brake failure and ensure safe driving experiences.
Proper installation of new brake shoes will improve braking performance and increase the longevity of your vehicle’s braking system.

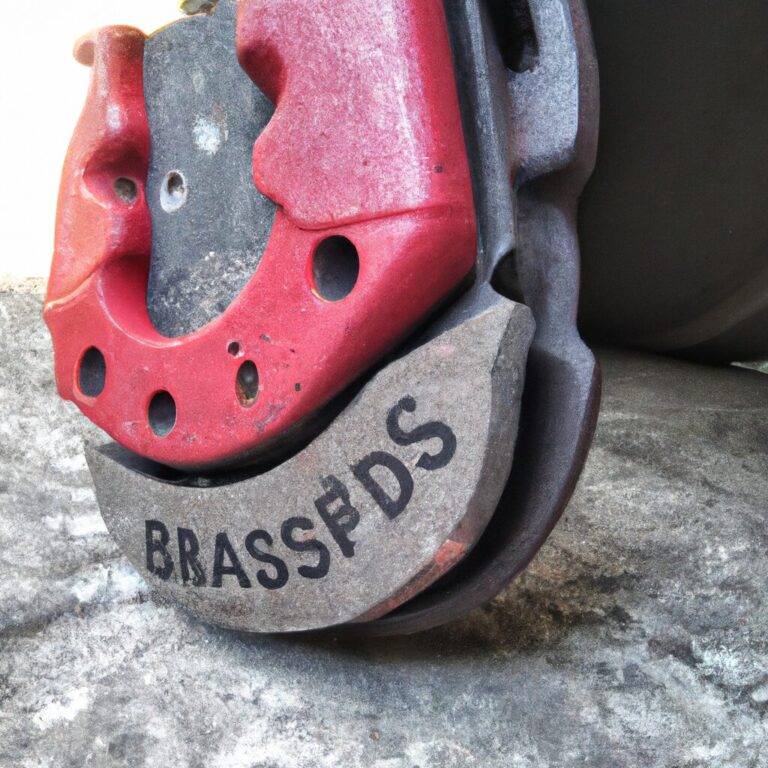
Credit: sangsinusa.com
Preparing For The Job
Before diving into the process of changing brake shoes, it’s crucial to properly prepare. By gathering the necessary tools and securing the vehicle, you’ll set the stage for a smoother and more efficient job.
Gather Your Tools
First and foremost, ensure that you have all the tools you’ll need for the brake shoe replacement. This includes wheel chocks, a jack, a lug wrench, a set of wrenches, and a cleaning brush. Having these tools readily available will minimize interruptions and make the process more straightforward.
Secure The Vehicle
Before starting any work on the brakes, it’s essential to secure the vehicle to prevent it from rolling. Set the parking brake and use wheel chocks to secure the wheels. Additionally, if you’re working on the front brakes, consider placing blocks behind the rear tires to further ensure the vehicle’s stability during the job.
With the proper precautions in place, you can approach the task with confidence and focus, knowing that the vehicle is secure and you have all the necessary tools at your disposal.

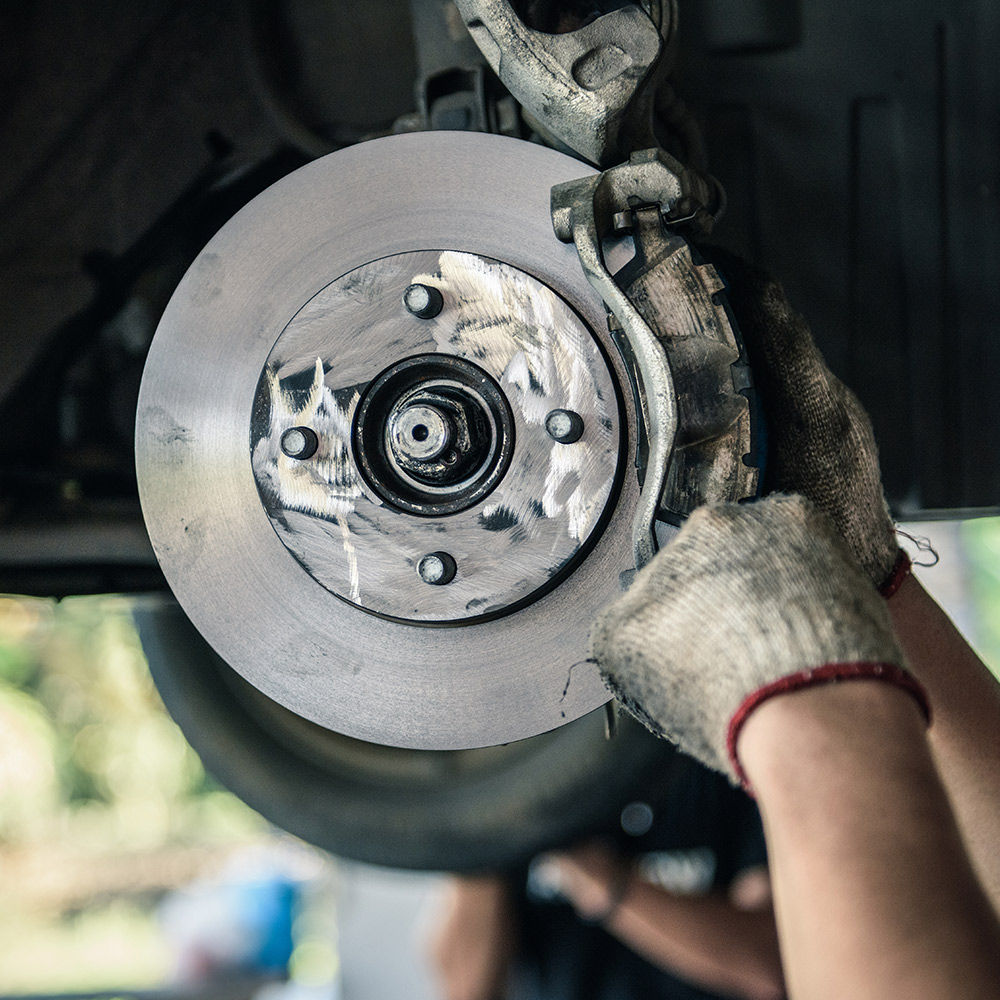
Credit: m.youtube.com
Removing The Old Brake Shoes
In the process of changing brake shoes, the first step is removing the old brake shoes. This is a crucial part of maintaining your vehicle’s braking system.
Remove The Wheel
To begin, remove the wheel to gain access to the brake assembly. This will allow you to work on the brakes more easily.
Remove The Drum
Next, remove the drum by loosening the retaining screws or bolts. The drum houses the brake components and must be taken off to access the brake shoes.
Release The Brake Springs
It’s essential to release the brake springs carefully to prevent any damage. Use the proper tools to carefully detach the springs from the brake shoes.
Installing The New Brake Shoes
Learn how to easily change brake shoes with this step-by-step guide. Ensure proper installation for optimal brake performance and safety on your vehicle.
In the process of installing the new brake shoes, proper execution is crucial for optimal safety and functionality. Here’s how to ensure a secure and effective installation of the new brake shoes:Attach The Brake Hardware
After removing the old brake shoes, attach the brake hardware ensuring a secure fit to prevent any issues.Position The New Shoes
Position the new shoes carefully, aligning them correctly to ensure proper contact and function with the brake drum.Reinstall The Drum
Once the new shoes are in place, reinstall the drum ensuring each shoe is correctly positioned and securely attached.Adjusting And Testing
Adjusting and Testing are crucial steps when changing brake shoes to ensure the brakes function properly. In this section, we will walk through the processes of Adjusting the Brake Shoes and Testing the Brakes to ensure your vehicle’s safety on the road.
Adjusting The Brake Shoes
When replacing the brake shoes, it’s essential to adjust them properly to ensure optimal performance. Follow these steps to adjust the brake shoes effectively:
- Start by positioning the brake shoes correctly within the braking system.
- Ensure that the brake shoe adjuster is set to the appropriate tension, allowing for smooth operation.
- Inspect the brake drum to ensure it’s free from any debris or damage that could impact the performance of the brake shoes.
Testing The Brakes
After adjusting the brake shoes, it’s vital to conduct comprehensive testing to verify their functionality. Here’s how to test the brakes after adjusting the brake shoes:
- Engage in a slow and controlled drive to test the initial response of the brakes.
- Gradually increase speed and engage in gentle braking to assess the overall performance.
- Listen for any unusual noises or sensations that could indicate the need for further adjustment or maintenance.
Final Steps And Safety Tips
In this section, we will discuss the final steps you need to take to complete the brake shoe replacement process, as well as important safety precautions to ensure a smooth and secure operation. Following these steps will ensure that your brakes function properly, providing you with a safe driving experience.
Replace The Wheel
Once you have successfully installed the new brake shoes, it’s time to put the wheel back on. Carefully lift the wheel and align it with the lug bolts on the brake drum. Slide the wheel onto the lug bolts and hand-tighten the lug nuts as much as possible. Once secure, use a torque wrench to tighten the lug nuts to the manufacturer’s recommended specifications. This will ensure that the wheel is correctly fastened and minimize the risk of it coming loose while driving.
Check For Proper Functioning
Before hitting the road, it’s crucial to test your brakes to ensure they are functioning correctly. Start by pumping the brake pedal a few times to adjust the brake shoes. This will help them make proper contact with the brake drum. Next, take your vehicle for a short test drive at a low speed. Pay close attention to how the brakes feel and listen for any unusual noises. If you notice any issues such as a soft pedal, excessive noise, or reduced braking power, it’s essential to address them before continuing to drive.
Safety Precautions
Safety should always be your top priority when working on your vehicle’s brakes. Here are some crucial safety precautions to keep in mind:
- Ensure you are working on a level surface to prevent accidental rolling of your vehicle.
- Wear protective gloves and safety glasses to safeguard yourself from any potential injury.
- Before starting the brake shoe replacement process, make sure your vehicle is securely supported using jack stands.
- Keep a fire extinguisher nearby in case of any unexpected fire hazards.
- When working under the vehicle, use wheel chocks to prevent it from rolling.
- Always refer to the vehicle’s manual for specific instructions and torque specifications.
- If you are unsure about any part of the process, seek professional assistance to ensure the job is done safely and correctly.
By following these final steps and safety tips, you can confidently change the brake shoes on your vehicle while ensuring your safety and the optimal performance of your brakes. Remember to take your time, double-check your work, and don’t hesitate to ask for help if needed. Safe travels!
Credit: www.homedepot.com
Frequently Asked Questions Of How To Change Brake Shoes
Is It Hard To Change Brake Shoes?
Changing brake shoes can be challenging, but with the right tools and knowledge, it’s doable. Follow a step-by-step guide or seek professional help.
How Long Does It Take To Change Brake Shoes On A Car?
Brake shoe replacement typically takes 1-2 hours for a professional mechanic to complete.
How Much Does It Cost To Replace Brake Shoes?
The cost to replace brake shoes typically ranges from $150 to $300, depending on the vehicle make and model.
Can You Replace Brake Shoes Without Replacing Drums?
Yes, brake shoes can be replaced without replacing the drums, but it’s important to check the condition of the drums for signs of wear and damage. If the drums are in good condition, they can be reused to save on costs.
Regular inspection is recommended for safety.
How Often Should Brake Shoes Be Changed?
Brake shoes typically need to be changed every 30,000 to 70,000 miles, depending on driving habits and vehicle type.
What Are The Signs That Brake Shoes Need To Be Changed?
Look out for warning signs like squeaking or grinding noises, reduced braking power, or a pulsating brake pedal.
Can I Change Brake Shoes Myself?
Yes, changing brake shoes can be done yourself with the right tools and knowledge. However, it’s recommended to have experience or seek professional help.
Conclusion
Replacing brake shoes is a crucial part of maintaining your vehicle’s safety and performance. By following these steps and using the right tools, you can easily tackle this task at home. Remember to regularly inspect and maintain your brakes to ensure your safety on the road.
With these simple tips, you can keep your vehicle in top condition and drive with confidence.